Led Lenser M14

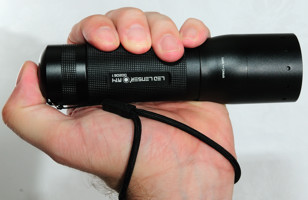
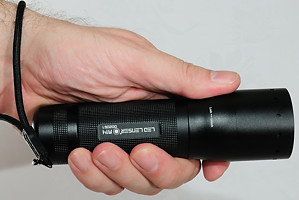
Led Lenser is from the German company Zweibrüder and is sold by Coast in the USA. They have a huge range of flashlights and most of them has adjustable focus and uses ordinary batteries (No LiIon or CR123). Here I take a look on M14, this light has a microprocessor and lots of settings and tricks. The light is in aluminium with a black surface of unspecific type.
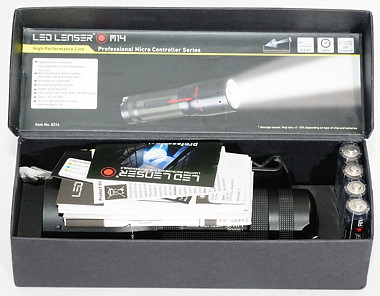
The light comes in a small cardboard box.
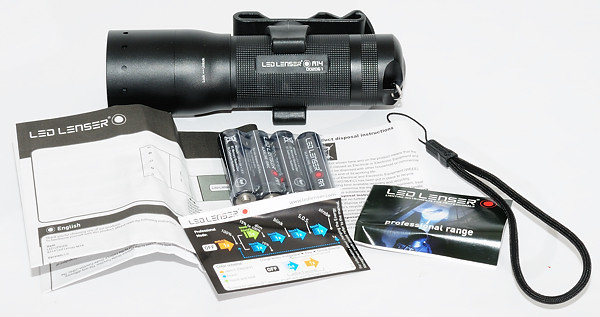
The box contains the light, alkaline batteries, instruction sheet in multiple languages, a belt clips (This clip is not always supplied according to the documentation), a lanyard, a user interface guide, a disposal instruction and a Led Lenser catalog.
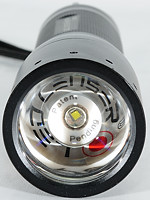
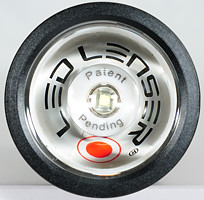
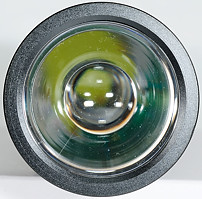
Looking from the front it is easy to see who manufactures the light. The light has no reflector, instead it uses a lens that can be moved to focus the light. The led is specified as a Cree led and looks like a XR-E type.
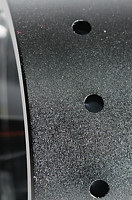
On the head the light has the usual Led Lenser marking, a circle of small holes. On this lights the holes are not drilled into the light, they are about 2.5 mm deep.
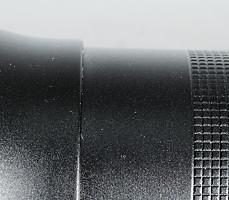
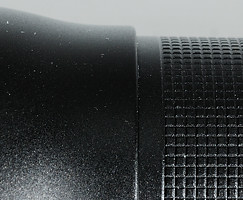
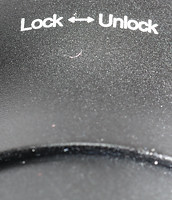
The focus mechanism is easy, just slide the head forward or backward, and turn the head to lock focus. This turning is only a few degrees.
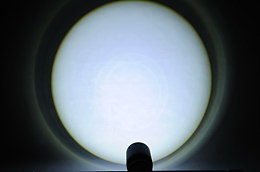
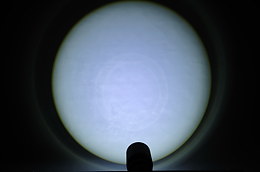
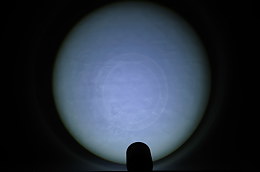
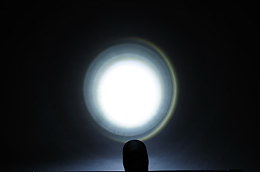
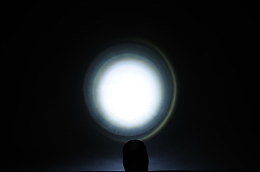
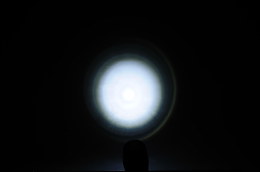

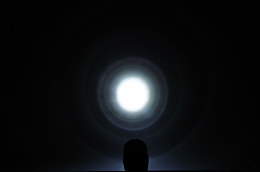
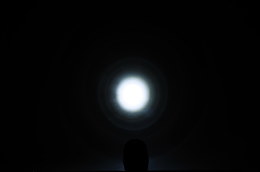
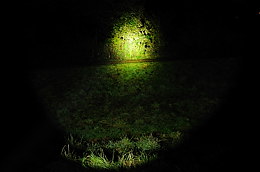
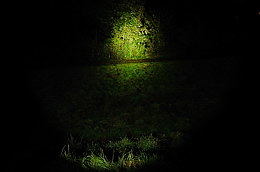
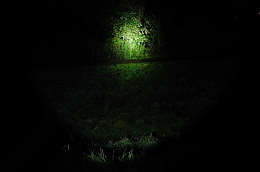
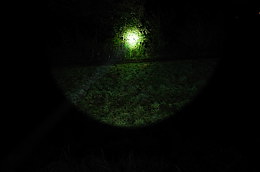
Here is a sample on how the focus looks, each line is the same focus setting, just with different exposure. The topmost line is widest focus, next is somewhere in the middle and bottom is tighest focus. The beam has many rings, but it is much better than a Maglite because it does not have a big hole in the center. These rings can also be seen in the beamshot.
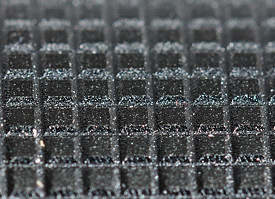
The body has a very fine smooth knurling.
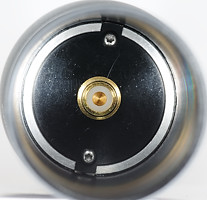
A look into the body of the flashlight shows the connector to the battery. This is not just some metal plate, but a real connector.
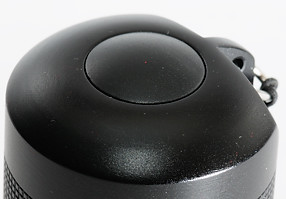
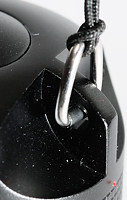
The light uses a two level switch, i.e. it can detect half and full presses. Full presses are used for on/off, half presses are used for mode selections, momentary light and stepless adjustment. The light has a solid eye for a lanyard.
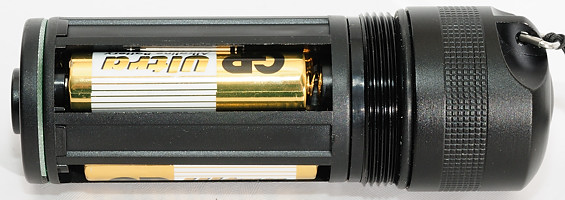
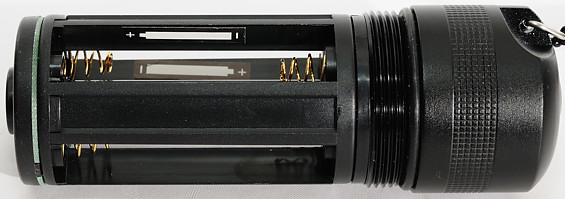
The battery carrier is part of the tail part of the light.
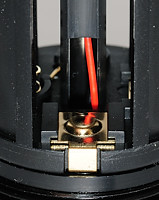
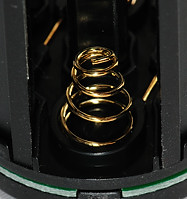
The battery carrier uses springs for the minus pole and plates or the other end of the spring with mechanical polarity protection for the plus pole.
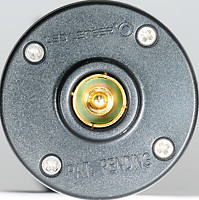
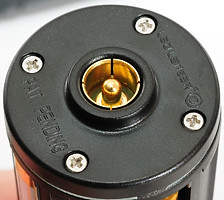
The battery carrier also has the other part of the power connector to the head.
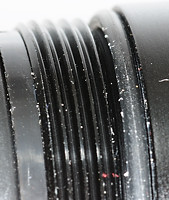
The light has a large size threads and an o-ring.
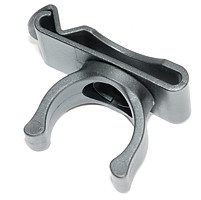
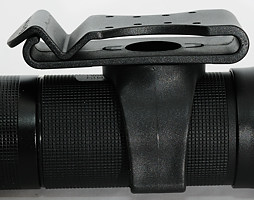
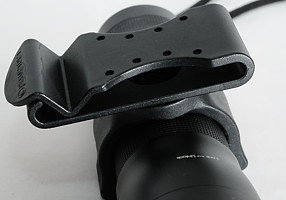
The belt clip supplied with the light has a build in twist with 8 locked positions, i.e. the light can be aimed forward when mounted in the belt. This clip has a good grip on the light making it slow to remove the light from the clip to use it handheld.
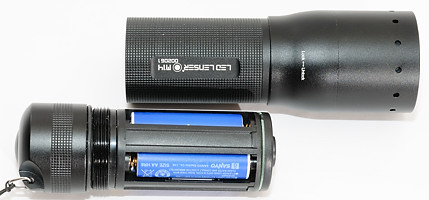
This is the parts I could disassemble the light into without using tools.
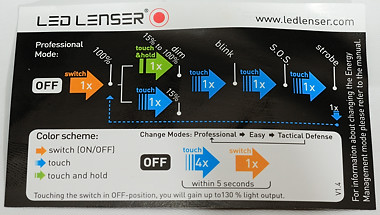
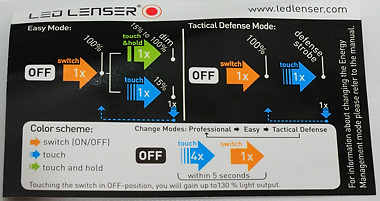
The user interface is a bit special, especially with all the modes that can be selected. Change between settings is done with a momentary press, on/off is done with a full press on the tail switch.
The light has 3 different brightness/modes sequences that can be selected, they are called: "Professional", "Easy" and "Tactical Defense". Two of these modes support a stepless brightness adjustment.
To change between these user interfaces use 4 momentary presses from off and then turn the light on.
The light also has two different modes for how it stabilizes brightness:
EMM (Energy management mode) that fades the light down to 15% over 35 minutes
CCM (Constant current mode) that only fades the light down to 60% over 9 minutes and then keeps it at that brightness.
To change between these brightness settings use 8 momentary presses from off and then turn the light on.
This light is very different from most other light, it has a focus feature that makesit possible to change between a wide and a tightly focused beam and anything in between. This is a very nice feature, but for me it was mostly spoiled by all the rings in the beam. It also has a two level switch on the back, this is a very nice way to handle both brightness change and on/off. Another special feature is the automatic dimming of the light, it saves one the batteries, but I prefer a stable output. The light does not have a large adjustment range, this reduces the usefulness of the stepless adjustment. The mechanical construction of the light feels solid.
When all is added up, I do not believe all the good things are enough to compensate for the bad things, but this is only my opinion others might fell different.
Technical specification and measurements
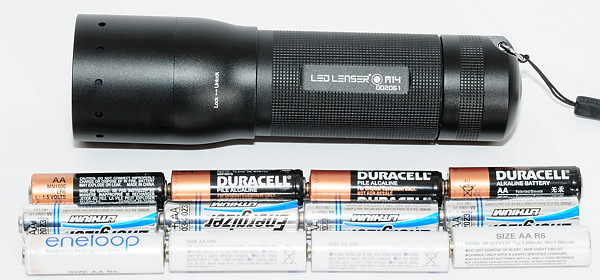
This light is designed for 1.5 volt AA batteries (Alkaline, NiMH, Lithium).
Measured size and weight:
Length: 162 mm to 175 mm depending on focus.
Diameter: 39.2 mm to 47 mm
Weight: 370 gram with eneloop
The light uses a Cree XR-E led.

In the above table I have used 2000mAh eneloop batteries for estimating the runtime. It is not really possible to measure the runtime for a specific mode, because the light does not have a stable output (See runtime curves below). The estimated lumen are based on the specified 225 lumen and then scaled according to measured brightness. The pwm percents are only valid at 4.8 volt, they will change, depending on voltage. The specified runtime is very optimistic, maybe running the light at low and counting time until it is impossible to see any glow in the led, can get this kind of runtime?
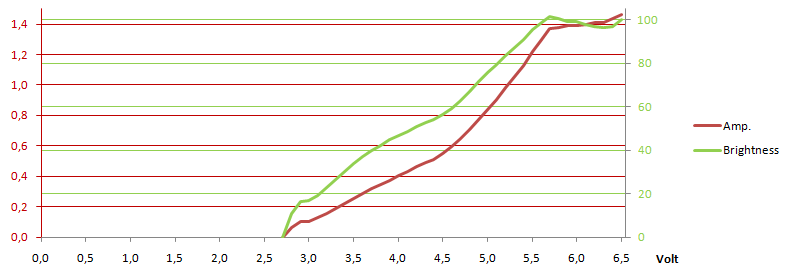
The voltage scan is done in boost mode, where the light is lacking any stabilization. The sligt rise in brightness with falling voltage can also be seen in the runtime curve for medium levels, at low levels the light is better at stabilization.
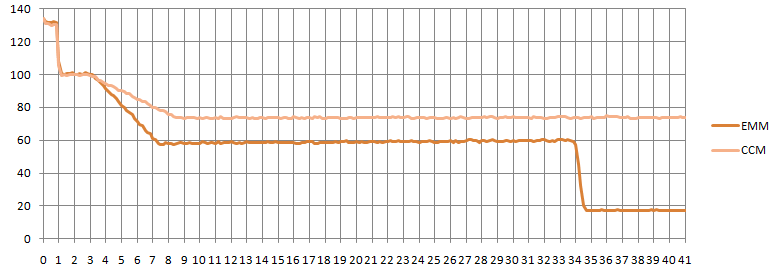
The above chart shows the two different stabilization modes. The first minute I am holding the power button down to use boost mode.
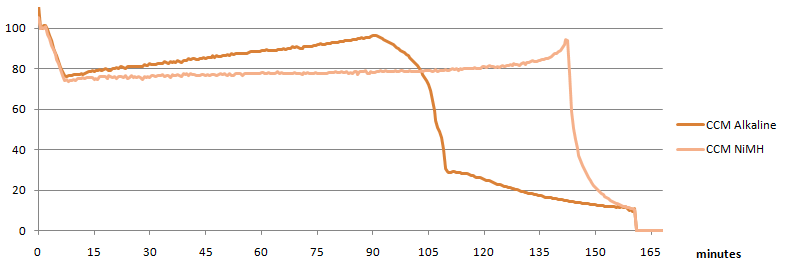
The runtime with CCM (Constant current mode) selected shows that the light can run about 1.8 hour with alkaline and 2.4 hour with NiMH until half brightness. The runtime is not exactly flat, first there is the drop to 60% (More like 75%), then it will slowly rise again (with alkaline batteries), before it slowly fades out.
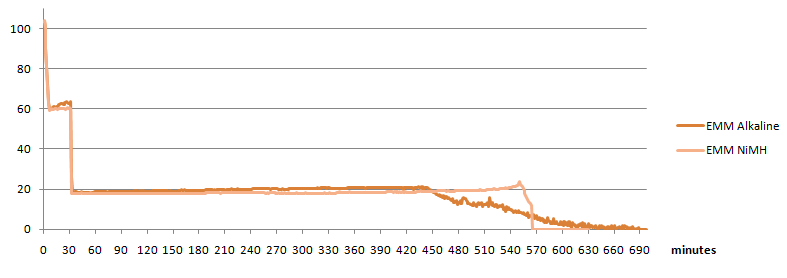
The runtime with EMM (Energy management mode) selected gives considerable longer runtime (About 9 hours), but most of the time the brightness is low. This is not something that the user selects, the light will automatic step down to lower brightness.

The light uses pwm at about 7.7 kHz, the actual frequency will change with battery voltage. In this graph I have 3 curves, the topmost (blue) is the brightness, next (red) comes the voltage between the battery carrier and the light and at the bottom (green) the current between the carrier and the light.
This shows that the mode electronic is placed in the tail of the light.

This is a single pwm pulse, captured at two different battery voltages but with the same selected brightness. With a higher voltage the pulse is shorter but higher, i.e. the light adjusts pwm to compensate for changes in battery voltage. It can also be seen that the two pwm pulses are at different frequencies, the high battery voltage has higher pwm frequency.


The first graph is the slow strobe as recorded by the light sensor, on the second curve I have applied a filter to remove the pwm. This is 3 Hz with 50% duty cycle.

Again I have used a filter. The SOS uses 0.3 and 1.1 second pulses for a total of 10.7 second to transmit a SOS, then a 1.7 second pause, before the next.

This is the fastest strobe I have seen to date, it is 20 Hz with a 40% duty cycle (I did also filter this).
Comparison to other Flashlights
Led Lenser M14 wide, Led Lenser M14 focus, Fenix LD40
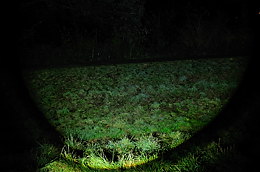
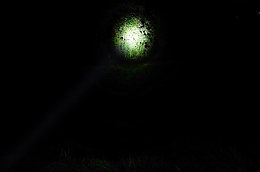
Fenix LD25, Fenix E21, JetBeam RRT-1 Q5
For the full comparison to other lights with graphs and beamshots see here.
The included lights are:


